Step-By-Step Guide to Anchoring Your Boat
Anchoring your boat may seem simple, but there are a few things you need to know to get it right. If you don’t learn the proper steps, you risk capsizing, damaging your boat, or finding yourself adrift even though you thought you were securely anchored.
How to anchor your boat: the basics
There’s nothing like experience when it comes to mastering the process of anchoring your boat. That said, the best way to start is by understanding the steps you will be following once you are actually in your boat.
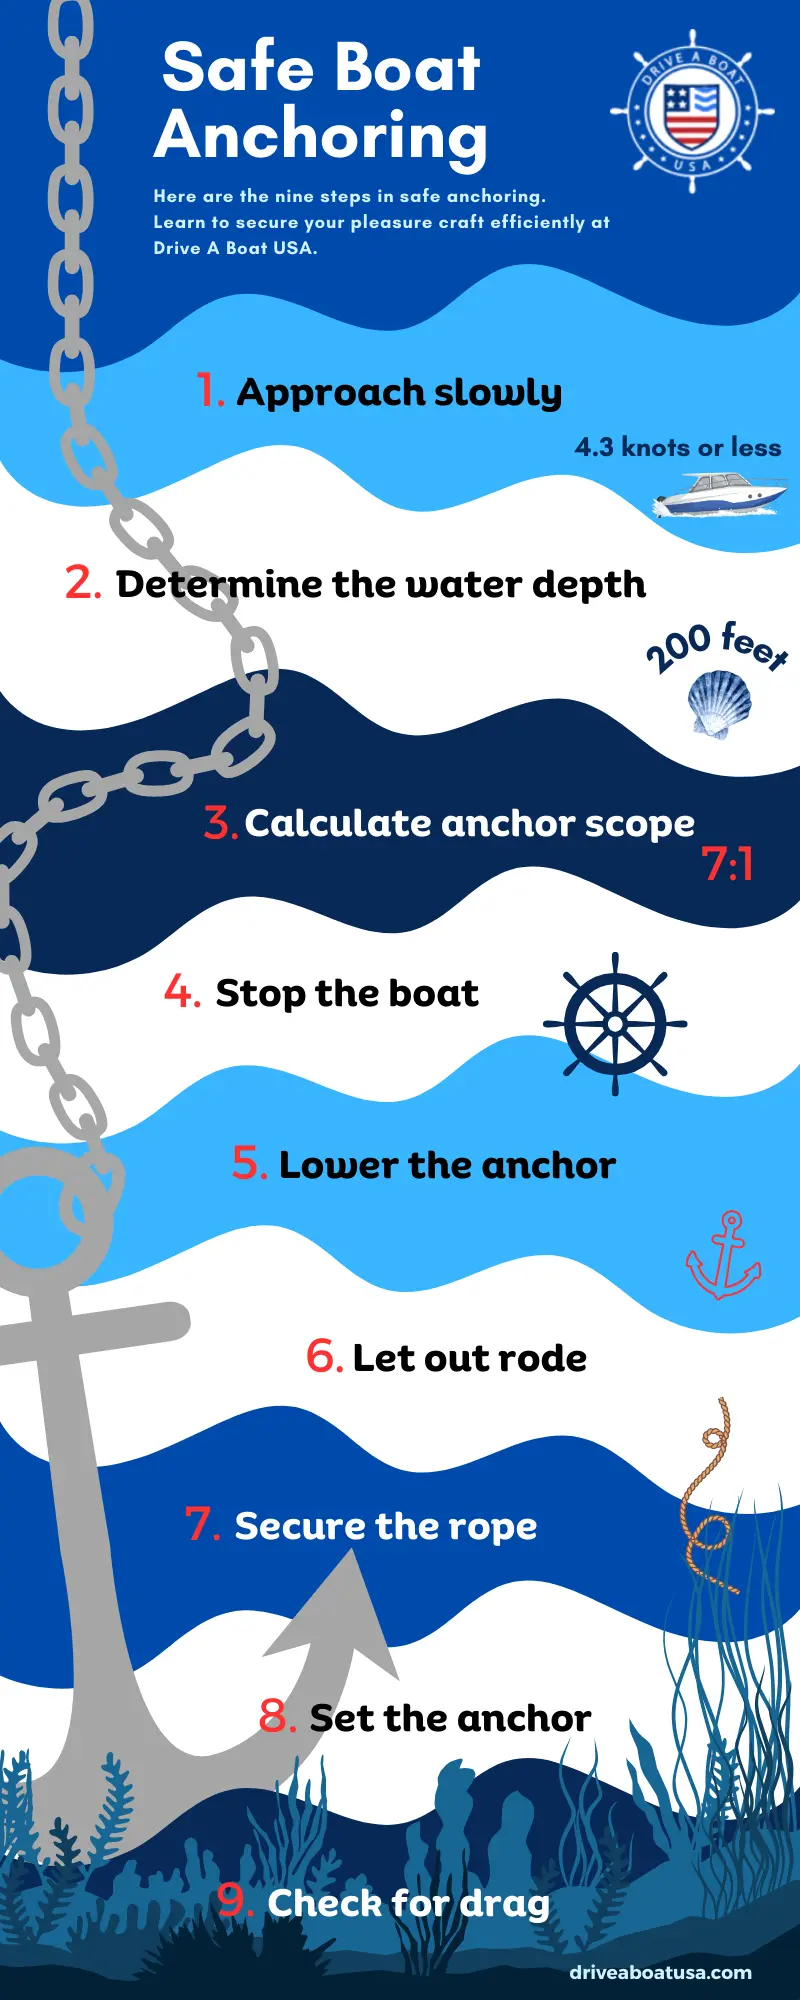
We’ve broken down the anchoring process into nine simple steps. Keep reading to find out what to do, and what not to do, when anchoring your boat.
1. Approach slowly
Head into the wind or current toward your chosen anchoring spot.
2. Determine the water depth
Measure the depth of the water where you plan to anchor. There are several ways you can do this, using a portable depth finder, depth sounder, fish finder, mobile app or GPS, or manually with a traditional lead line (a rope with a weighted end and depth markings).
3. Calculate anchor scope
Scope refers to the ratio between the length of the rode (the anchor line and anchor combined) and the water depth. The ratio of rode length to water depth affects the anchor’s ability to dig into the seabed and hold securely.
In normal, moderate conditions, a scope of 7:1 is usually recommended (seven feet of rode for every foot of water depth). This scope is appropriate for most anchoring situations.
In calm weather, a scope of 5:1 (five feet of rode for every foot of water depth) may be enough for smaller pleasure boats. In rough weather or for overnight anchoring, a scope of 10:1 or greater may be necessary.
Consider tidal changes and wave action when calculating scope. If you aren’t sure, it’s better to use more scope than necessary, to be on the safe side.
Example Calculation for 7:1 Scope:
If the water depth is 10 feet and the bow height is 4 feet:
Total depth = 10 + 4 = 14 feet
Rode needed = 14 × 7 = 98 feet
4. Stop the boat
Completely stop the pleasure craft before lowering the anchor. Make sure you allow enough distance to stop your boat smoothly, especially in high-traffic areas or near obstacles.
5. Lower the anchor
Gently lower the anchor over the bow. Never lower the anchor from the stern as you risk capsizing your boat.
6. Let out rode
Release 7 to 10 times the water depth in rode to allow the anchor to set properly. Avoid throwing the anchor overboard; instead, lower it steadily to prevent tangles or damage to the anchor and rode. Make sure the boat is stationary or drifting backward gently as you let out the rode.
Avoid releasing too much rode at once, as this may create slack and reduce the anchor’s ability to set properly. Keep slight tension on the line as you let it out to help the anchor dig into the seabed.
If using a combination of chain and rope, make sure the chain is fully deployed first. Once you’ve released the right amount of rode, secure it to a bow cleat or windlass. Use proper knots or a locking mechanism to prevent slippage.
7. Secure the rope
Attach the anchor line to a bow cleat after releasing the full amount of anchor rode. Make sure you use an appropriate nautical knot according to the type of material the rode is made of:
- Rope: Lightweight and commonly used for smaller boats.
- Chain: Heavier and often used in combination with rope for added durability and holding power.
- Combination Rode: A mix of rope and chain, providing the benefits of both.
8. Set the anchor
Slowly reverse the boat while applying tension to the line to help the anchor dig into the waterbed. Feel for resistance on the line, which will indicate that the anchor is starting to set.
9. Check for drag
Choose one or more nearby visual landmarks that you can check to confirm that your vessel is staying put. You can also use onboard electronics to confirm that the anchor is holding.
You can adjust and reset the anchor if the boat is drifting or not securely anchored.
How to retrieve an anchor
Retrieving your anchor also takes some skill, but it’s simpler than putting the anchor down:
- Slowly move the boat towards the anchor while pulling in the rode.
- Safely stow the anchor and rode once retrieved.
Safety reminders
-
- Make sure the anchoring area is free of underwater hazards, other boats, or shallow spots.
- Always approach the anchoring spot head-on to maintain control.
- Never tie off the anchor to the stern of the boat.
- Keep the anchor and rode area clear of unnecessary gear or obstructions.
- Wear gloves to protect your hands from rope burns or chain links while handling the rode.
- Pull in the rode steadily, and never yank or overexert the line.
- Let everyone onboard know when the anchor is being set or retrieved.
- Make sure no one stands near the anchor chain, rode, or windlass while operating.
- Look for frays or damage to the rope or chain before use.
- Be ready to adjust the rode length or re-anchor if wind or current increases.
- Factor in tidal changes when anchoring to avoid grounding or drifting.
Get your U.S.A. Boating License today
The Drive A Boat USA safe boating course is the best way to get your official boat license. With a boater card approved by the U.S. Coast Guard, you can take to the water legally in your state with full knowledge of all safety laws and regulations.
Sign up to get certified in California, New York or Florida today!


